Implement Data Loss Prevention: A Step-by-Step Rollout Plan
Most DLP failures stem from ignoring metadata context, which allows sensitive data wrapped in benign protocols to bypass standard signature-based detection rules entirely.

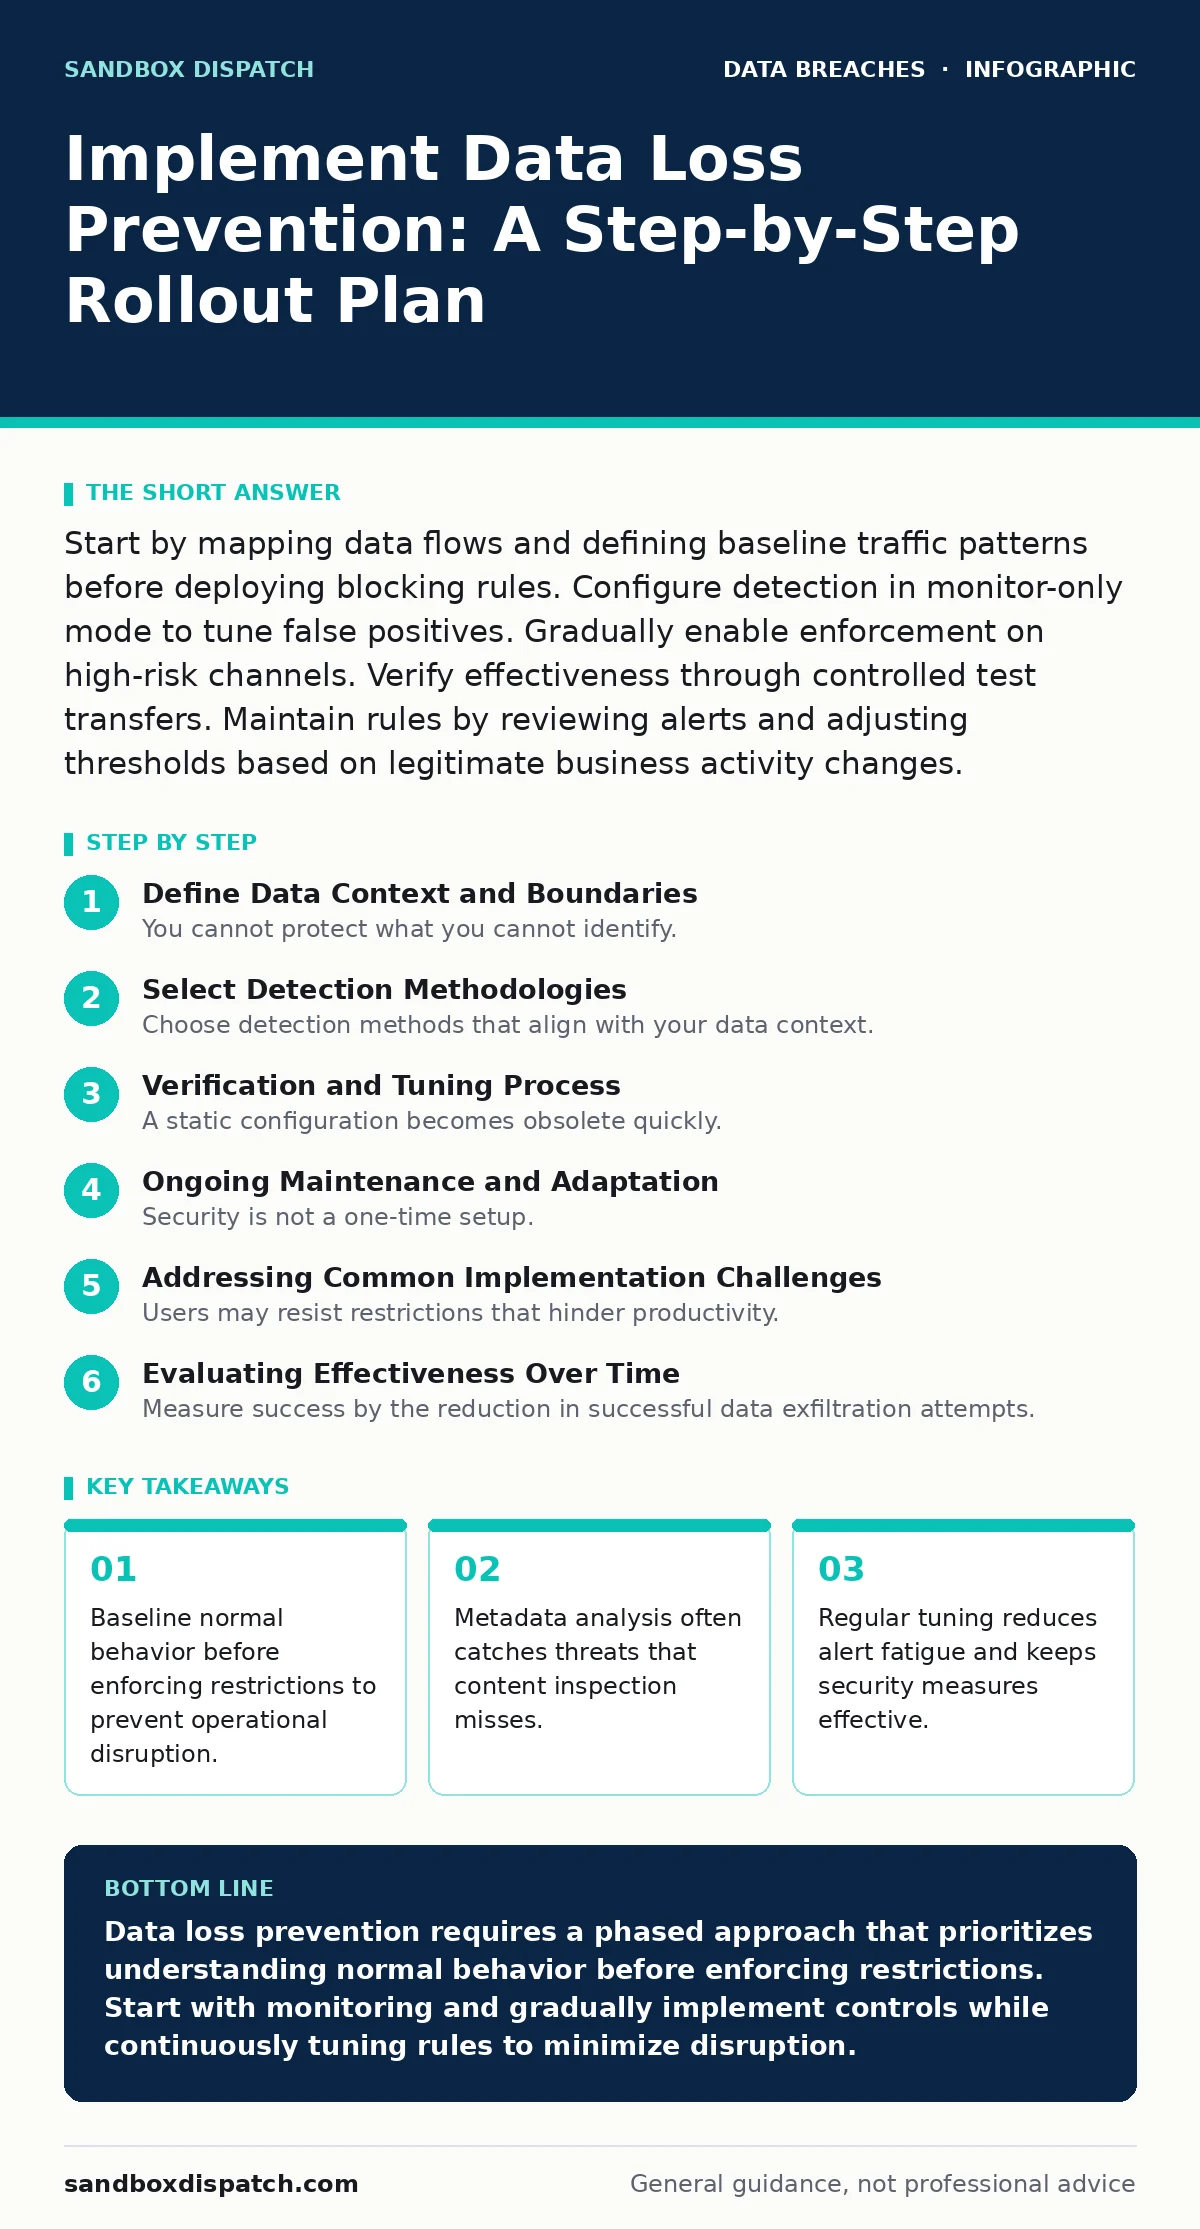
Start by mapping data flows and defining baseline traffic patterns before deploying blocking rules. Configure detection in monitor-only mode to tune false positives. Gradually enable enforcement on high-risk channels. Verify effectiveness through controlled test transfers. Maintain rules by reviewing alerts and adjusting thresholds based on legitimate business activity changes.
Define Data Context and Boundaries
You cannot protect what you cannot identify. Begin by creating a precise data inventory and mapping of sensitive information locations. This includes databases, file shares, and endpoint storage. Identify the data types that require protection, such as intellectual property or personal identifiers. Map the normal flow of this data across your network. Understand where data resides at rest and how it moves in transit. This baseline establishes what constitutes legitimate behavior. Without this map, your system lacks the reference point needed to distinguish between routine operations and actual exfiltration attempts.
Select Detection Methodologies
Choose detection methods that align with your data context. Content-based detection scans for specific strings or patterns, such as credit card numbers. This method works well for structured data but struggles with unstructured documents. Context-based detection analyzes file types, user roles, and time of access.
This approach reduces false positives by understanding the situation surrounding the data. Behavioral analytics monitors for unusual volume or frequency of transfers. Combining these methods creates a layered defense. Relying solely on content inspection often misses sensitive data disguised within benign file formats or encrypted channels.
Step 1: Establish Baseline Traffic Patterns
Deploy your solution in monitor-only mode for several weeks. This phase collects data on normal user and application behavior without interrupting workflow. Define thresholds for acceptable data transfer volumes. Identify which applications legitimately move large amounts of data. Document the typical destinations for sensitive files. This baseline serves as the reference for future anomaly detection. You must understand the noise before you can identify the signal.
Verify success by reviewing the initial report for obvious false positives. Ensure that legitimate business tools do not trigger alerts. Adjust thresholds if normal operations are flagged as suspicious. The system should reflect reality, not idealized security policies.
Step 2: Configure High-Risk Channel Rules
Start enforcement with the most vulnerable exit points. Email gateways and web proxies are common targets for data exfiltration. Block known malicious domains and restrict file uploads to untrusted cloud services. Implement misconfigured cloud storage leaks protections by preventing unauthorized public sharing links. Define strict rules for removable media access. Disable USB write capabilities on endpoints that do not require them. These controls limit the attack surface significantly.
Verify success by attempting to send test files containing dummy sensitive data. Confirm that the system blocks the transmission and logs the event. Ensure that the user receives a clear notification explaining the block. This transparency reduces helpdesk tickets and user frustration.
Step 3: Enable Endpoint Monitoring
Extend controls to devices where data lives. Install agents that monitor local file activities. Detect when sensitive data is copied to unencrypted partitions. Alert when users attempt to print or screenshot protected documents. This step closes the gap left by network-level controls. It addresses threats originating from insider actions or compromised local machines. Coordinate with user access provisioning teams to ensure agents are deployed to all relevant endpoints.
Verify success by simulating a local copy operation of a test file. Confirm that the agent captures the event and generates an alert. Check that the alert includes sufficient context, such as user identity and file path. This information is necessary for incident response teams to investigate effectively.
Step 4: Integrate Identity and Access Controls
Link detection events to user identity. Correlate alerts with authentication logs to understand who is accessing data. Enforce least privilege principles to limit exposure. Users should only access data necessary for their role. This reduces the potential impact of compromised credentials. Integrate with directory services to automate rule updates based on group membership. This ensures that security policies follow the user, regardless of the device they use.
Verify success by reviewing an alert for a user outside their normal role. Confirm that the system correctly identifies the anomaly based on identity context. Ensure that the response action aligns with the severity of the violation. This integration provides a holistic view of risk.
Verification and Tuning Process
A static configuration becomes obsolete quickly. Regularly review alerts to refine rules. Create a verification checklist to ensure continuous improvement.
- Review false positive reports weekly.
- Update data patterns to reflect new business processes.
- Test blocking rules with simulated exfiltration attempts.
- Validate that legitimate workflows remain unimpeded.
- Check for new vulnerabilities in monitored channels.
Ongoing Maintenance and Adaptation
Security is not a one-time setup. Continuously update detection signatures and behavioral models. Monitor for new data leakage vectors, such as emerging cloud collaboration tools. Review employee offboarding security procedures to ensure access is revoked promptly. Address data scraping risks by monitoring for automated bulk downloads. Keep abreast of changes in data privacy regulations. Regularly audit your data inventory and mapping to reflect organizational changes. This proactive approach ensures your defenses remain relevant against evolving threats.
Addressing Common Implementation Challenges
Users may resist restrictions that hinder productivity. Communicate the purpose of controls clearly. Provide easy channels for reporting false positives. Train staff on secure data handling practices. Reduce complexity by integrating DLP with existing security tools. This consolidation simplifies management and reduces overhead. Balance security needs with operational efficiency. A system that is too restrictive will be circumvented, while one that is too lax provides no protection.
See also: Detect Data Leaks in Logs and Network Traffic · How Cloud Storage Misconfigurations Leak Data Step by Step
Evaluating Effectiveness Over Time
Measure success by the reduction in successful data exfiltration attempts. Track the number of false positives and adjust thresholds accordingly. Monitor the time to detect and respond to incidents. Compare current metrics against your initial baseline. Identify trends in user behavior that may indicate new risks. Use this data to justify further investments in security capabilities. Continuous evaluation ensures that your program delivers tangible value.
Integrating with Broader Security Strategy
DLP does not operate in isolation. Coordinate with incident response teams to handle alerts. Share intelligence with threat detection platforms. Align with compliance requirements, such as the HIPAA Security Rule, if applicable. Address lost and stolen devices scenarios by ensuring remote wipe capabilities. Consider data leaks from third-party vendors in your risk assessment. A unified security posture provides stronger protection than siloed controls. This integration creates a cohesive defense against sophisticated threats.
Key takeaways
- Baseline normal behavior before enforcing restrictions to prevent operational disruption.
- Metadata analysis often catches threats that content inspection misses.
- Regular tuning reduces alert fatigue and keeps security measures effective.
Data loss prevention requires a phased approach that prioritizes understanding normal behavior before enforcing restrictions. Start with monitoring and gradually implement controls while continuously tuning rules to minimize disruption.
Frequently asked questions
How long should monitor-only mode run before enforcing rules?
Run monitor-only mode for at least four to six weeks. This period allows the system to capture a full cycle of business activities, including monthly reports and seasonal variations, ensuring the baseline is accurate and comprehensive.
How do you handle false positives from legitimate business tools?
Create exception rules for known legitimate applications and users. Regularly review false positive reports and adjust thresholds. Engage with department heads to validate exceptions. This collaborative approach ensures that security controls do not hinder critical business operations while maintaining protection.
How this guide was produced: written by the Sandbox Dispatch editorial team with AI assistance, checked against the public references listed below, and reviewed when the facts change. See our editorial policy or report an error.